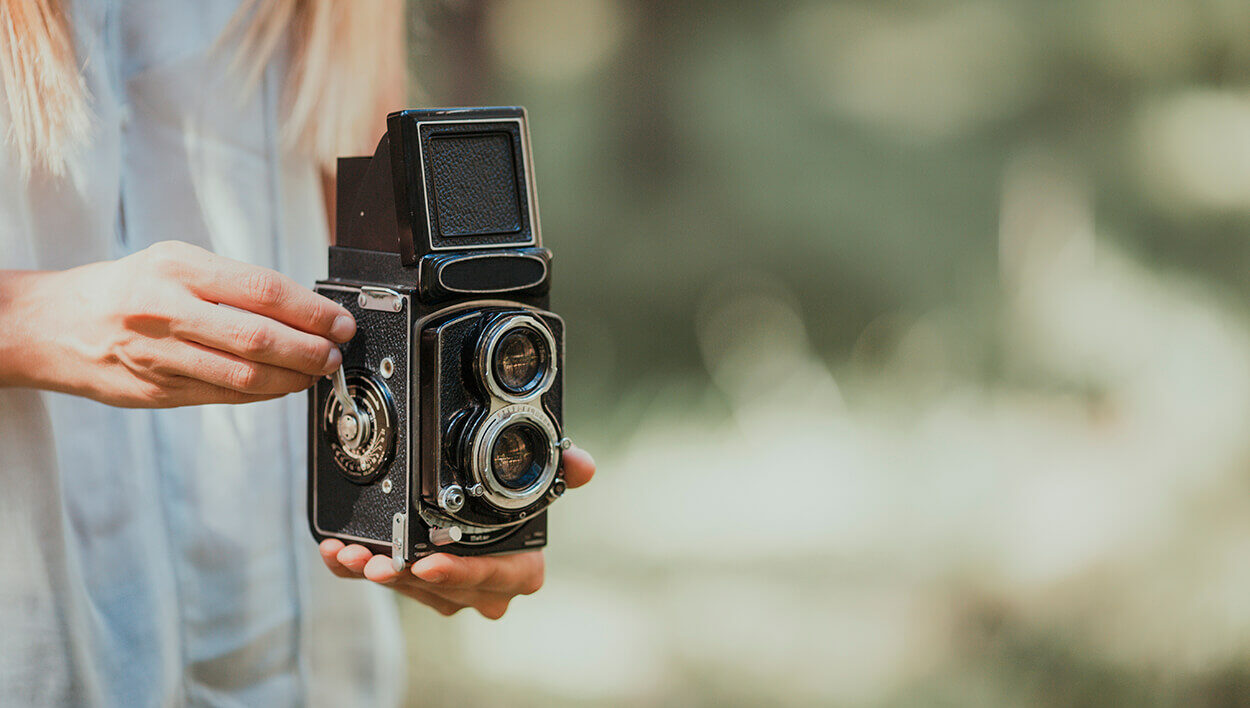
Embarking on the journey of mastering manual mode in photography can seem like a daunting task for beginners. However, delving into the intricacies of aperture, shutter speed, and ISO opens up a world of creative possibilities and control over your images. In this comprehensive guide, we will break down the key camera settings, explain how they interact within the exposure triangle, and provide practical tips to help you confidently navigate manual mode and elevate your photography skills.
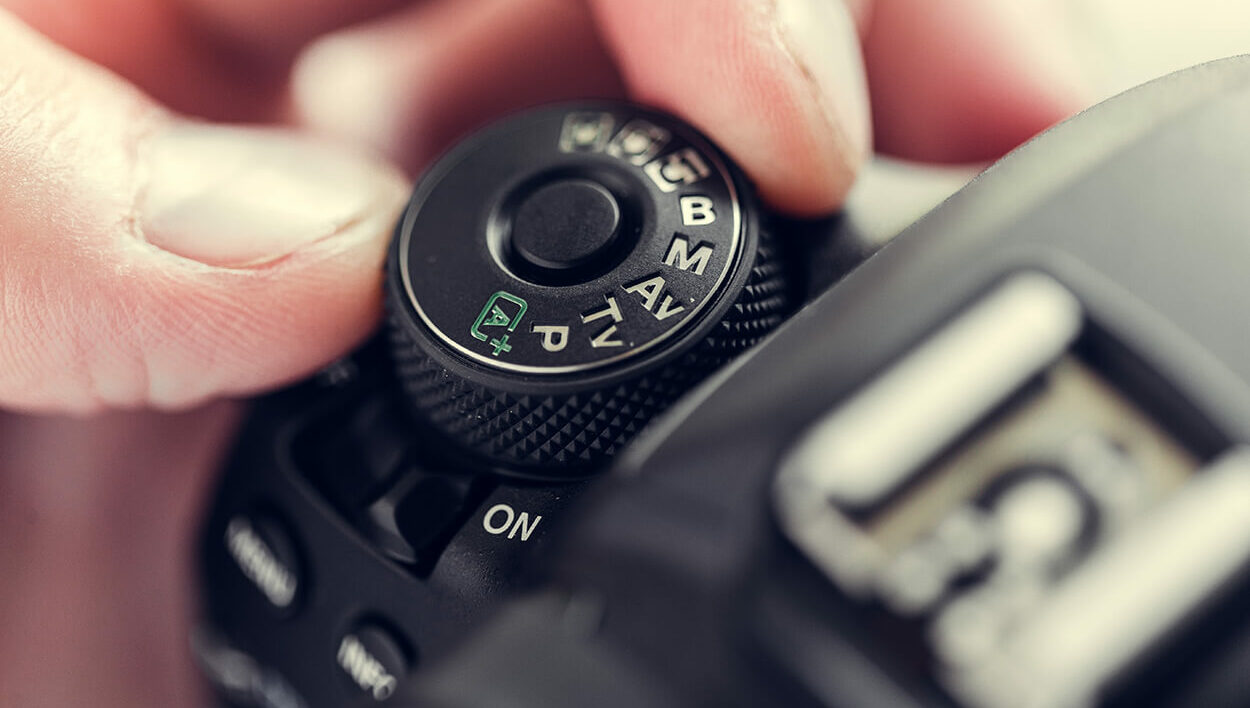
1. Introduction to Manual Mode
So, you’ve finally decided to take the plunge into the world of manual mode on your camera. It may seem like a daunting task at first, but trust me, the benefits are worth it. Say goodbye to letting your camera make all the decisions for you in auto mode and hello to taking control of your shots like a pro.
The Benefits of Manual Mode
Manual mode gives you the power to customize your settings to achieve the exact look you want. Whether you’re aiming for a dreamy blurred background or capturing fast-moving action with crystal clarity, manual mode puts you in the driver’s seat.
Transitioning from Auto Mode
Switching from auto mode to manual mode can feel like stepping into a whole new world, but don’t worry, we’ve got your back. With a little practice and understanding of key settings, you’ll wonder why you didn’t make the switch sooner.
2. Aperture: Controlling Depth of Field
Ah, aperture – the key to controlling how much of your image is in focus. Understanding how aperture settings work is like unlocking a secret weapon in your photography arsenal.
Understanding Aperture Settings
Aperture settings are represented by f-numbers, and the lower the f-number, the wider the aperture, and vice versa. A wide aperture (low f-number) lets in more light and creates a blurry background, while a narrow aperture (high f-number) keeps more of the image sharp.
Effects of Aperture on Depth of Field
Manipulating your aperture settings allows you to play with depth of field, making your subject pop against a beautifully blurred background or keeping every detail tack-sharp from foreground to background. The choice is yours!
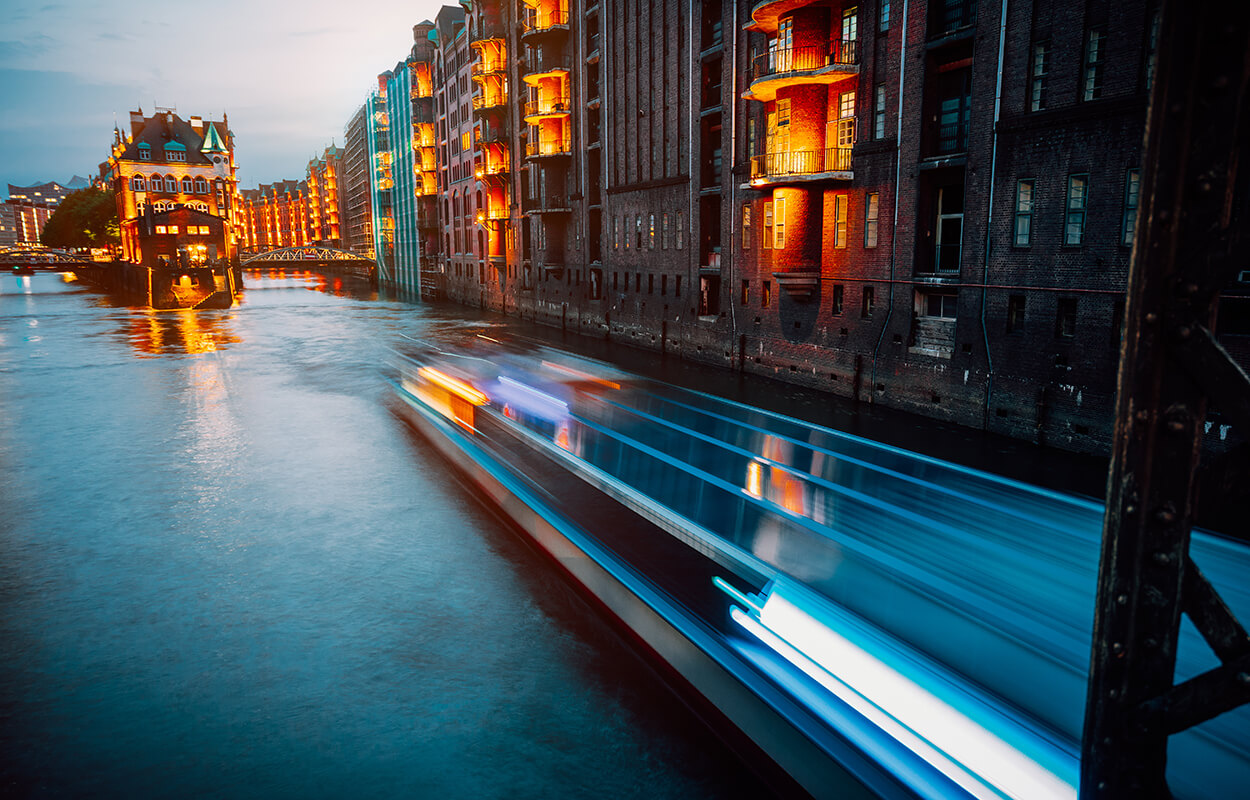
3. Shutter Speed: Capturing Motion
Moving on to shutter speed, the setting that controls how long your camera’s shutter stays open. Strap in as we explore how to freeze action or add a dynamic blur to your shots.
Exploring Shutter Speed Settings
Shutter speed is measured in fractions of a second – the faster the speed, the less light enters but the motion is frozen, and vice versa. By mastering this setting, you can capture a buzzing bee in mid-flight or a flowing river with a silky smooth finish.
Freezing or Blurring Motion
Whether you want to freeze a speeding car or create a sense of movement in a waterfall, adjusting your shutter speed lets you take full control over how motion is captured in your images. Get ready to play with time and create visually stunning effects.
Last but not least, let’s talk about ISO – the setting that controls your camera sensor’s sensitivity to light. Think of it as your camera’s ability to see in the dark.
Last but not least, let’s talk about ISO – the setting that controls your camera sensor’s sensitivity to light. Think of it as your camera’s ability to see in the dark.
ISO and Noise Levels
Increasing your ISO allows you to shoot in low-light conditions without sacrificing image brightness, but be wary of higher ISO settings as they can introduce unwanted noise or grain into your photos. It’s a delicate balancing act.
Choosing the Right ISO for the Situation
From bright sunny days to dimly lit interiors, selecting the appropriate ISO setting for the situation at hand is crucial for achieving clear and noise-free images. With the right ISO setting, you can capture stunning photos in any lighting condition.
4. Understanding the Exposure Triangle
Balancing Aperture, Shutter Speed, and ISO
Imagine Aperture, Shutter Speed, and ISO walking into a bar. Aperture, the social butterfly, controls how much light enters the camera. Shutter Speed, the athlete, dictates how long the party lasts. ISO, the party animal, boosts sensitivity when light is low. Balancing these three is key to a well-exposed photo.
Practical Examples of the Exposure Triangle in Action
Picture this: you’re at a dimly lit concert trying to capture the lead singer mid-jump. You open up your aperture for a bright image, crank up the ISO for sensitivity, and set a quick shutter speed to freeze the action. Voilà! You’ve nailed the exposure triangle.
5. White Balance and Color Temperature
Impact of White Balance on Image Tone
Natural light, fluorescent bulbs, or candlelit dinners – each light source has its own vibe. Adjusting your White Balance ensures colors look true to life. Say goodbye to Smurf-like skin tones!
Setting the Correct White Balance for Different Lighting Conditions
White Balance is the mood ring of photography. It sets the tone for your images, whether warm and cozy or cool and crisp. Get it wrong, and your snowscape might look like a sunset – oops!
6. Metering Modes and Exposure Compensation
Different Metering Modes Explained
Metering modes are like photo fortune tellers, predicting the right exposure. Spot metering hones in on a specific area, while evaluative metering considers the whole scene. Choose wisely!
Using Exposure Compensation to Adjust Brightness
Sometimes the camera gets it wrong. That’s where Exposure Compensation comes in – like adding or subtracting seasoning to taste. Brighten up beach shots or tone down snowy landscapes with a twist of the dial.
7. Practical Tips for Using Manual Mode
Practice and Experimentation
Like a mad scientist in a lab, embrace trial and error. Play with settings, break the rules, and discover your signature style. The more you click, the better you’ll get!
Troubleshooting Common Issues
Oops, why is everything blurry? Forgot to adjust the shutter speed! Are dark shadows ruining the party? Time to tweak that ISO. Don’t fret – even seasoned pros make mistakes. Learn, laugh, and click away! As you continue to practice and experiment with manual mode, remember that mastering your camera settings is a journey that takes time and patience.
By understanding the fundamentals of aperture, shutter speed, ISO, and the exposure triangle, you empower yourself to capture images with intention and creativity. Embrace the learning process, keep exploring different scenarios, and don’t be afraid to make mistakes – for it is through these experiences that you will truly grow as a photographer. Happy shooting!